
Guide to Reinstalling Firmware Over TFTP Using a Bus Pirate as UART
Final post in recovery of EdgeRouterX

In the final post I share my experience with firmware updates over TFTP, using a Bus Pirate for UART interfacing. After this I will have a functional router.
First, I need the right firmware for my device. I found two versions for my EdgeRouter: 2.0.6 1.10 Unsure which to choose, I downloaded both.
Next, I installed the TFTP server on a Virtual Machine using the following command:
sudo apt-get install tftpd-hpaOnce installed, it's crucial to check and adjust the settings:
cat /etc/default/tftpd-hpa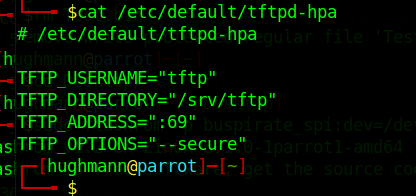
I decided to leave the settings as their default but made note that the TFPT directory was /srv/tftp. This is the directory where I need to move the firmware files to.
To move the files I needed to update the directory's ownership
sudo chown -R $USER /srv/tftpNext I needed to make some networking changes. My VM was currently setup in Network Address Translation (NAT) mode. To allow the router to access the TFPT server running on the VM I switched the router from NAT to Bridged connection.
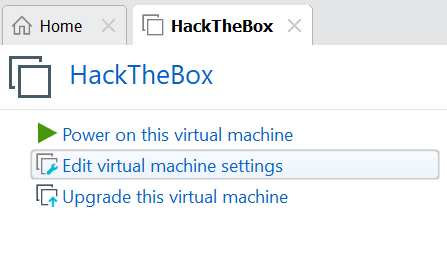
Opening the virtual machine settings and select Edit virtual machine settings.
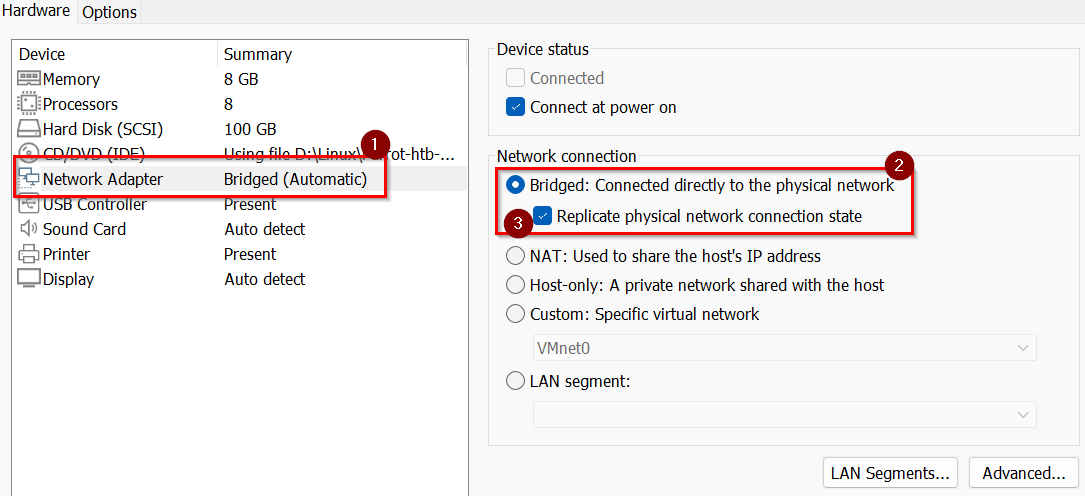
In the settings window:
Select Network Adapter
Select Bridged: Connected directly to the physical network
Select Replicated physical network connection state
Since the router will not have DHCP enabled, I manually configured IP addresses for both the host and the VM.
I'm running Windows 11 as a host. To change the IP setting.
Right click on the internet icon in the windows taskbar and select Network and Internet settings.
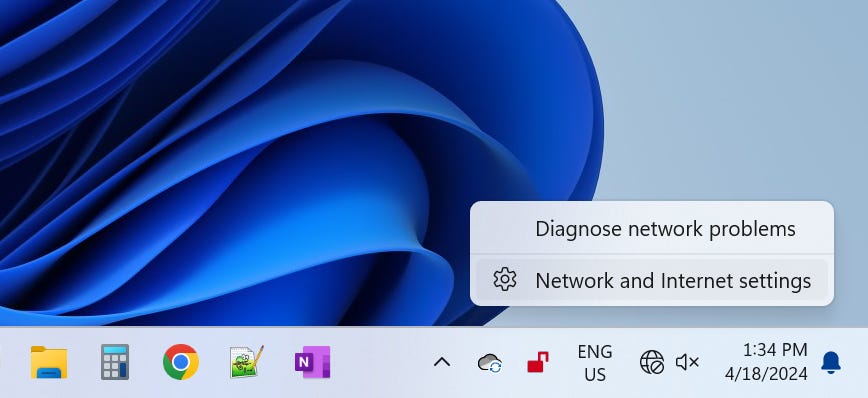
This will open up the Network & internet windows. Click on Ethernet.

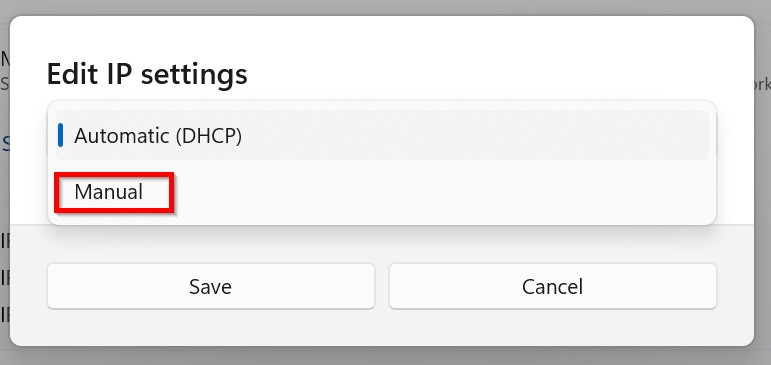
Currently IP settings where set to Automatic (DHCP). Click on the dropdown menu and select Manual
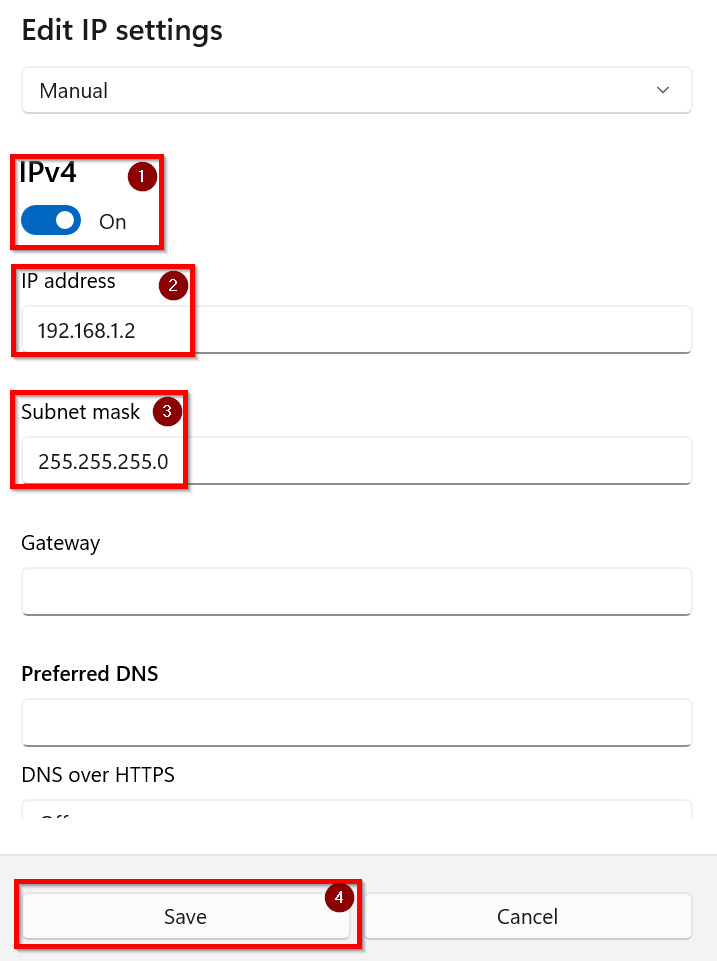
Manually set the IP settings
1) Turn on IPv4
2) In the IP address enter 192.168.1.2
3) In the Subnet mask enter 255.255.255.0
4) Click Save to apply the settings
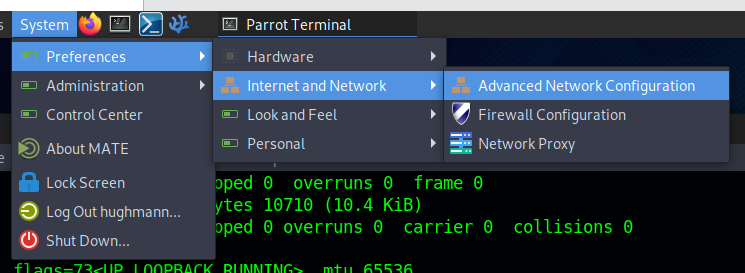
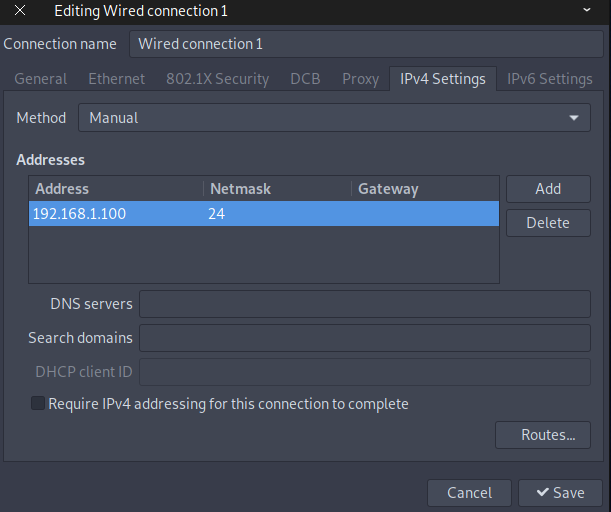
The IP settings for the VM were next. How this is completed depends on which OS you're running. I'm currently running Parrot OS in my VM. To open up the Network Connections windows select System -> Preferences -> Internet and Network -> Advanced Network Config in the menu bar at the top of the screen.
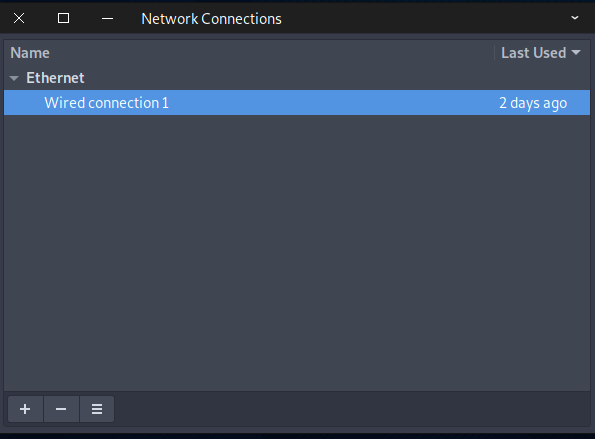
In the Network Connections widow that pops up select the appropriate network connection. In my case there is only one. So double clicked Wired connection 1.
For the VM running Parrot OS:
IP address: 192.168.1.100
Subnet mask: 255.255.255.0 (or simply '24')
Summary of Network Settings:
Router: 192.168.1.1
Host: 192.168.1.2
VM: 192.168.1.100
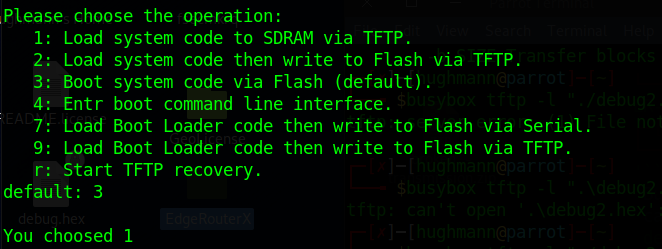
With all that completed and the Bus Pirate connected I plugged in the router and immediately held down 1 on the keyboard to interrupt the boot process. (Load system code to SDRM via TFPT) If I did not hold down 1 router would automatically with option 3 to boot the system code via Flash (default).
Next, I needed to input specific IP and file information. Initially, I was uncertain about what data to enter, but after some trial and error, I managed to understand the requirements:
Input Device IP: This is the IP address of the router. I configured it too 192.168.1.1.
Input Server IP: This is the IP address of the VM running the TFTP server. For my setup with ParrotOS VM, I used 192.168.1.100.
Input Linux Kernel Filename: Enter the exact name of the file. In my case, it was `ER-e50.recovery.v2.0.6.5208541.190708.0508.16de5fdde.img`. In hindsight, renaming the file to something shorter would have made the process smoother.

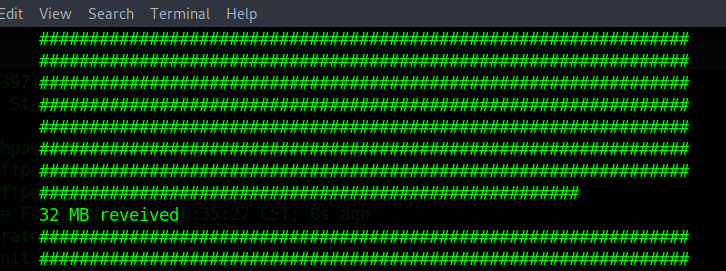
Once everything was set up correctly the router will connect to the TFPT server and the screen will start filling with "#" signs, signalling that the firmware was actively being uploaded. Periodically, updates on the amount of megabytes received were displayed, confirming the ongoing transfer.
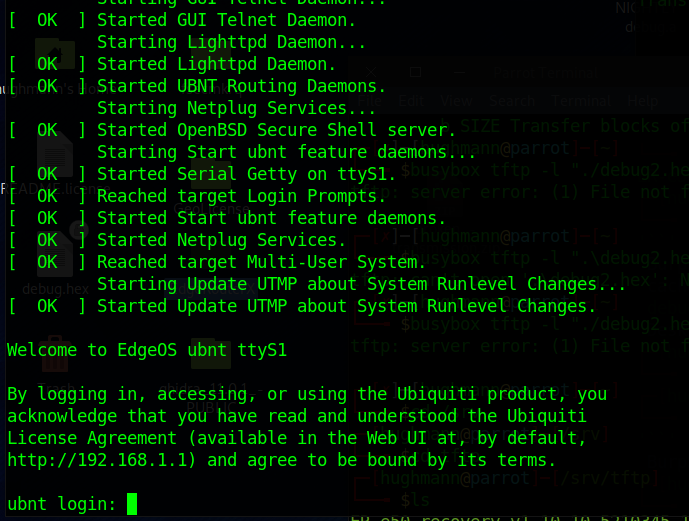
Upon completion of the upload, the router automatically proceeded to install the firmware and reboot. After this process, I was greeted with the login prompt, indicating that the router was now fully operational and ready for use.
What began as a casual exploration into dumping firmware directly from a chip evolved into a valuable lesson on reviving inactive hardware through UART and TFTP connections. It just goes to show that when you delve into the intricacies of hardware, be prepared for a few surprises before you're done.